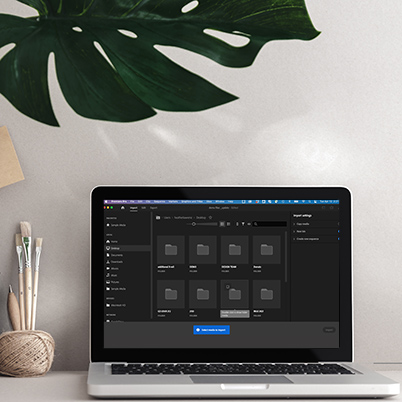
Premiere updated its import interface. The new import experience begins with media instead of project settings. This interface may remind you of Premiere Rush.
At the top left, notice the streamlined import, edit and export views. This allows you to jump quickly between each view.
Selecting media
Select files, folders and add these into the tray, giving you a first look at your sequence.
Bring in media from various locations and also favorite regularly used sources.
You still begin with naming your project and giving it a location. But look at this as adding the step of importing at the same time, instead of waiting until your project is open.
Hover scrub through clips and add them to the tray. Right-click an asset in the tray to remove them or clear the whole tray if needed.
File organization and management
On the right toggle Copy media on if you want to copy your media files from a temporary location, like a camera card or removable drive. Begin editing while Premiere Pro copies the media in the background. (This is the same as beginning with copying your media files locally or gathering them together.)
Create a New bin if you want to organize your project media – and give the bin a name. The media is not copied to a new location but is displayed in that bin inside the project panel.
With Create new sequence toggled on, when you click Create, the assets in the tray are added directly to a new timeline, in the order they were selected. So you can speed build a timeline.
Sequence settings
Premiere Pro assigns the sequence settings, such as resolution and frame rate, based on the first asset selected. If needed, you can change the sequence setting in Edit mode.
- With Create new sequence toggled on, the new media is added as a new sequence in your project.
- If you have Create new sequence toggled off, the new media is added in the Project panel.
If you need to add an asset later, simply choose File > Import.
Check out our interface and export tutorials as well.
Table of Contents
00:20 How you update Premiere
00:42 Overview of the new Import
01:34 Name your project
01:44 Give the project a location
02:05 How imports work differently
02:17 Viewing selected folders
02:51 Selecting clips to import, add to tray
03:15 Removing clips from the tray
03:29 Clips establish sequence settings
03:42 Toggling Import Settings
03:48 Copying media
04:24 Create a new bin
04:32 Create a new sequence
04:51 Viewing new project
04:59 View of media encoder
05:30 Other sequence options
05:45 Importing additional clips
06:21 Creating your own sequence
06:45 Imported clips are added to project
