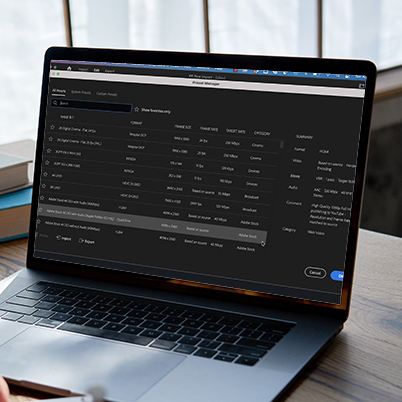
The new quick export and share experience helps you export efficiently with a one-to-many design.
Export Interface
Choose Export from the header bar at the top of Premiere Pro to open the Export workspace.
You can also choose File > Export > Media or use the Cmd/Ctrl + M shortcut to switch to Export Mode.
The export workflow moves from left to right. Start by selecting a destination for your video from the choices in the left-hand column, such as YouTube, Vimeo, or your local drive (Media File).
You can use the optimized render settings for YouTube, Vimeo, Facebook or Twitter. Or, you can use the advanced settings to customize your exports.
Begin by selecting the destination, editing the presets if needed, preview your work and export
Make sure you have your sequence selected as you begin this process.
For most of our work, choose H.264 and YouTube HD 1080.
Quick Export and Share
You can also take advantage of the quick export/share.
Open the sequence you want to export. You can also select a sequence or media file in the Project panel for export.
Click the Quick Export icon . The Quick Export dialog box opens.
Choose a File Name and Location for your exported file
Choose a preset.
Click the star to favorite any of these or modify any of the parameters to customize and save your own presets.
Check out our workspace overview and import training.
Table of Contents:
00:21 – Overview of export options
00:33 – Using quick export/share
00:44 – Select file name and export location
00:52 – Choose export preset
00:57 – Search for additional presets
01:10 – Add frequently used exports as favorite
01:21 – When to use quick share export
01:39 – Export interface
01:45 – File Export still works
01:56 – Export to multiple destinations
02:17 – Preset YouTube 1080 Full HD, H.264
02:30 – Additional Exports
02:37 – Export for Twitter
02:45 – Finding social presets
03:01 – Fixing black boxes, scale
03:42 – Viewing both exports
