Quick color corrections can drastically improve your video in a short amount of time.
First, make sure you are in your color workspace (Window > Workspace > Color). This will give you access to all the key color panels.
Next, start with a simple auto balance. You may need to tweak this a bit, remember you are looking for pure whites and blacks. You can use the eye dropper to white balance and help you with this. (Check out our indepth color video if you need more help here.)
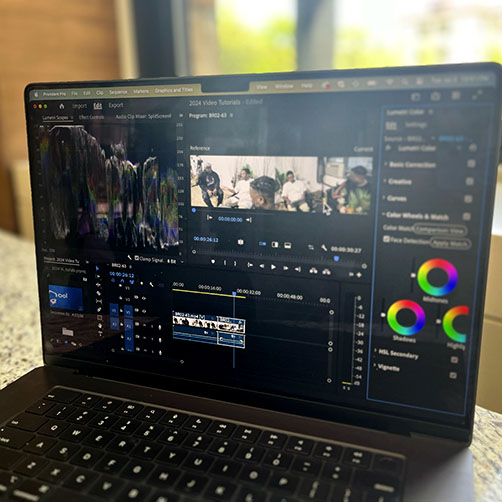
Finally, work to color match clips. Begin by opening the “Color Wheels & Match” tab of the Lumetri Color Panel.
Click on “Comparison View”. The clip on the right is the one you’re changing. The clip on the left is your color reference
Use the blue slider to skim though your sequence to select the reference clip
Click on “Apply Match” (You may still need to tweak some color settings for a better match).
00:09 Quick color tips
00:32 Color Workspace
01:04 Basic corrections
01:19 White balance
01:31 Color match