Recording in Adobe Audition is easier than you might think, and with just a few quick steps, you can capture clean, professional-quality sound. In this tutorial, we’ll guide you through setting up your file, checking your mic levels, and using basic tools to edit your recording. Follow along and you’ll be ready to create polished audio tracks in no time. (Make sure you’ve checked out our getting started video first.)
Begin by creating a new file (File > New > Audio File) and set it to 48,000 Hz, Stereo, 32-bit for optimal quality. Next, check your microphone by right-clicking in the Levels area at the bottom and selecting Meter Input Signal—your input should peak around -9. You can leave the meter visible or uncheck it once you’re done.
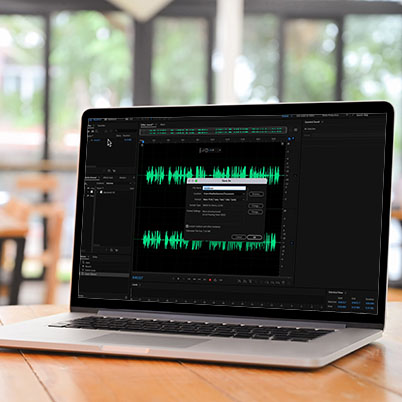
When you’re ready, hit the red Record button and watch the waveform appear as you speak. Click the same button to stop recording. From there, try out basic editing tools like Select, Delete, and Insert Silence to refine your track. Finally, save your project as an uncompressed .WAV file—this will be your high-quality working copy for future edits.
00:14 Creating a new file to
00:39 Viewing input meter
01:26 Recording
02:04 Selecting and deleting
02:45 Insert silence
03:14 Saving file