Illustrator retype can save you from flattened files and unknown fonts.
If you have ever received a design or been asked to recreate a design from a file, you know how hard it is to determine the font originally used. (Or maybe you’re like me and forget.) Enter Illustrator retype. Once you use retype to identify any text from a raster or outlined format, you can begin to edit it.
To use the Retype feature in Adobe Illustrator:
- Select the image or outlined text.
- Go to Type > Retype > Match Font.
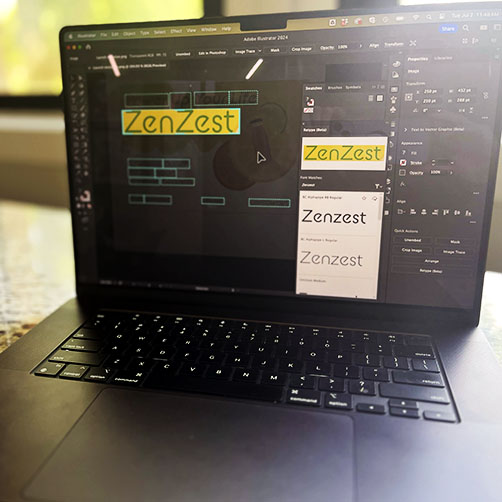
- A dotted line appears around the words Retype detects. The largest word is highlighted and surrounded by a marquee.
- The Retype panel will also pop up.
To get font suggestions using the Retype panel in Adobe Illustrator:
- Select the word in the image or outlined text.
- The Retype panel will display 10 matching font suggestions, ordered by similarity
- By default, suggestions come from both Adobe Fonts and system fonts.
- If Retype fails to auto-detect a word in the image or outlined text, move the marquee and fit it around the undetected word to get font suggestions.
To edit the type / turn it live:
- Select the download icon at the bottom of the panel, and then select Download to install the editing capability. This installation is a one-time process.
- Select the preferred font on the Retype panel, and then double-click the word on the canvas. The word gets converted into live text.
- If the font you apply is an Adobe Font and it isn’t already activated, it gets activated.
- Press Esc to exit the Retype mode.
0:09 Illustrator retype (beta)
0:14 Why it is valuable
0:50 Launching retype
1:18 Selecting type and matching
2:01 Editing text (plus a 1 time
2:30 Text is live