Want to turn a raster image into a vector? Image Trace is your friend! Just drop your image onto the canvas (File > Place). Then, pop open the Image Trace panel (Window > Image Trace) or hop over to the Tracing workspace.
Check the Preset dropdown if you can’t find a preset in the icon list. The Preset dropdown also allows you to switch between the enhanced and legacy versions of the presets. There are tons of presets like Auto-Color, High Color, Low Color, Grayscale, Black and White, and Outline, each offering a different way to get the job done!
From there, you can pick an Enhanced Preset (if you see one) from the icons or dropdown. Feel free to tweak the tracing options, but for a quick trace, the Contextual Task Bar (Default preset) or Properties panel (any preset) will do the trick. You can always fine-tune things in the Image Trace panel later.
When you’re ready, just hit Object > Image Trace > Release OR the expand button in the bottom of the Image Trace Panel.
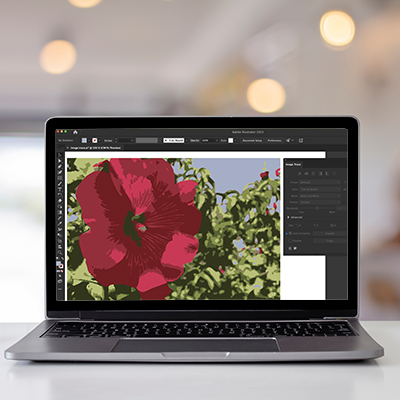
00:11 Open Window – Image Trace and select photo
00:15 Explore series of presets – including new enhanced presets.
00:18 Start with a low fidelity photo. Beginning to look more like a vector design.
00:27 Experiment with colors – starting with preset of 6 then using slider.
00:39 Different ways to view tracing
00:45 Sketched art
00:49 Silhouettes
00:53 Technical drawing
00:58 Back to color
01:11 Advanced – decrease paths and corners
01:31 Select expand – changes to vector shapes that can be edited.
01:43 Use direct selection to select new paths (here in blue)
01:52 Use selection menu to choose similar colors
01:57 Use color swatches to change the color of the selected shapes