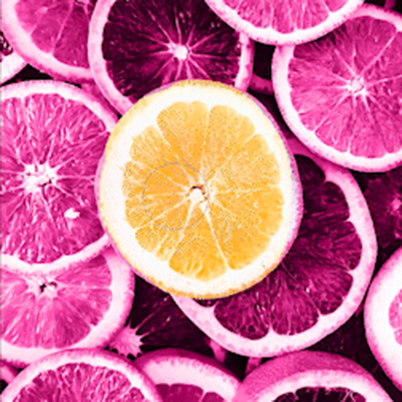
Creating a photo tint is a great way to develop a look or mood for an image. Let’s take a look:
We will begin with opening our image (File – Open). Then inside the Essentials panel, we will have the Adjustment and Layers panel open.
Begin by copying your layer with Command J
With the top layer selected, apply the Black/White adjustment layer

Adjust the color values (or use Auto)
Check the tint and use the color chip to apply a new tint
To bring back some of the original color, select the mask, then painting with black, bring back some of the color beneath.