Select the adjustment brush from the toolbar.
Choose your desired adjustment type from either the Contextual Task Bar or the Control Bar and set the brush size and hardness .
Adjust the brush size further by using the right or left bracket.
As soon as you begin brushing, you will see the layer adjustment applied in the layers panel. You can adjust the settings in the Properties panel.
Select the Add new adjustment button to add a new adjustment type to your image by creating a new adjustment layer with layer mask.
00:12 Select Adjustment brush tool from toolbar
00:14 In the control bar you will see a drop down menu where you can find all the familiar adjustment layers
00:23 Next choose the size and hardness of the brush. This will vary as you use different photos.
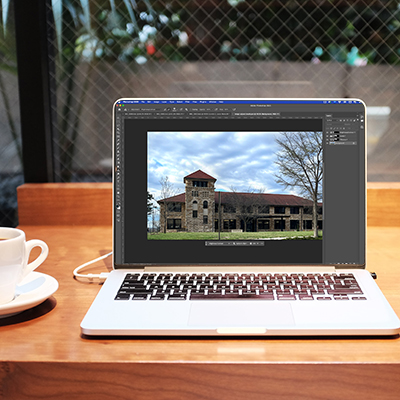
00:30 Brush along the area you wish to change. Here I am applying a brightness to the grass.
00:53 You can see this add an adjustment layer and I can edit that using the icon to the left of the layer mask.
01:01 To add additional adjustment layers, make sure you have reselected the background layer, then choose the next adjustment from the control bar OR the contextual task bar.
01:10 In additional to changing the brush size in the control bar, you can also use the right and left brackets.
01:29 Next I’m applying a vibrance adjustment and using both the properties panel and the layer opacity to adjust the effect.
02:02 If you apply an adjustment layer that you don’t like, simply drag it to the trash icon from the layers panel.