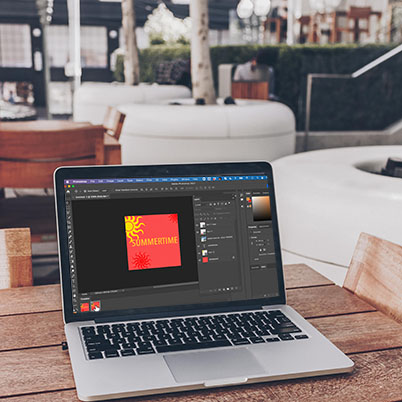
Creating gifs in Photoshop can be a fun way to spice up everything from social media to your presentations or portfolio. Let’s go through the steps you will use.
First, create a new Photoshop document – we used 600 x 600 pixels at 72 dpi. This is appropriate for an Instagram story, but input whatever size you need.
Next, create a series of layers that reflect the final gif image you would like to see. Note: if you want things to animate separately, they need to be on separate layers.
To animate, we will use ‘create frame animation’ and create a new frame and make that a ‘before’ frame in the timeline. (The motion will be created by tweening.) (Another option is to ‘create a video animation’ and expand each layer in the timeline, setting keyframes.)
To create
If you are new to Photoshop, here are some tips to help build your image:
- You can place a photo via File > Embedded
- You can fill with a color via Edit > Fill
- You can create shapes with the shape tool
- You can add type and then alter the style with the properties panel
- Use the move tool to move your content.
Option 1
- Open the Timeline panel, Window — Timeline.
- Click “Create Frame Animation” from the dropdown in the Timeline panel.
- Choose “New Frame” from the menu on the right of the Timeline panel. This Frame 2 represents your final look.
- Be sure to uncheck propagate in the layer panel for any frame you wish to change. Make changes you want to frame 1.
- Select the tweens button and add frames.
- Choose “Forever” from the drop down below the timeline to make the animation loop continuously.
Option 2
- Open the Timeline panel, Window — Timeline.
- Click “Create Video Animation” from the dropdown in the Timeline panel.
- Expand each layer.
- Add key frames by clicking the stop watch, move playhead to where you want to change, may the change. (Repeat)
- Set timeline rate by opening flyout , select Set Timeline Frame rate, set to 10 fps
To Export
When finished, export your animated GIF. Choose File — Export Save for Web (legacy). Choose GIF as the format from the top right side of the Save for Web dialog box. Make sure Looping Options is set to “Forever” on the bottom right, click Save, and choose a location. Use File – Export Render to Video if you would like an mp4.
If you would like to come back to this design, click the last frame and save as a .psd.
Table of Contents:
00:26 – Create New PS Doc
00:51 – Create image that reflects final gif
01:16 – Open Layers panel
01:27 – Frame vs video animation
02:10 – Placing a photo
02:33 – Transform placed image
03:04 – Fill with color
03:51 – Adding type
04:34 – Moving content
05:02 – Adding shapes
06:30 – Adding new layers
07:03 – Alt drag to copy
07:13 – CMD/Cntrl T to transfrom
07:34 – Window Timeline to start
07:50 – Create Frame Animation
08:04 – Add second frame
08:23 – Edit on Frame 1
10:40 – Create tweens add frames
11:44 – Changing speed
12:22 – Video Frame example
17:10 – Saving as psd
17:41 – Export gif
