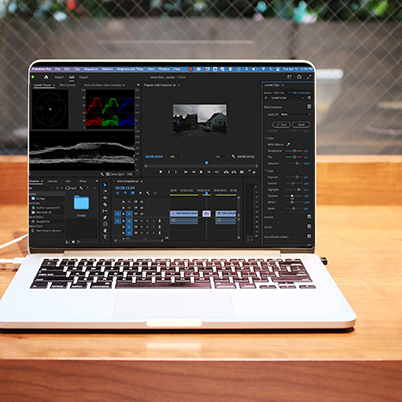
Color correction is often reserved as a more advanced topic, but the auto color correction makes this more accessible to new users and is worth experimenting with.
Make sure you are in your color workspace by using the workspace dropdown or going to Window > Workspaces > Color.
Auto Color uses Adobe’s Adobe Sensei AI technology to apply intelligent adjustments . This may not be your only solution, but one of many in your toolbox.
Simply Position the playhead somewhere in the clip you want to color correct. Auto Color uses frame sampling to optimize color across the whole clip.
Adjustments are reflected in Basic Correction sliders at the top of the Lumetri panel. You can continue to adjust these or Adjust the overall impact using the new Intensity slider or use individual sliders to fine-tune the color and light values.
Table of Contents:
00:29 – How auto color works
00:47 – Select clip
00:53 – Open Color Workspace
00:58 – Select Basic Correction
01:00 – Auto Color button
01:12 – Using Intensity slider
01:22 – Experiment with other sliders
Check out our previous video on color correction.
