In this training, we will look at color correction with Premiere.
To begin with Color Correction in Premiere, you can edit clips for overall contrast, color balance and saturation. Finally, add looks to create a mood or tone to your entire video.
Begin by analyzing your video.
First, your goal is to match what you really saw when you shot the clip. Begin with accessing your color workspace.
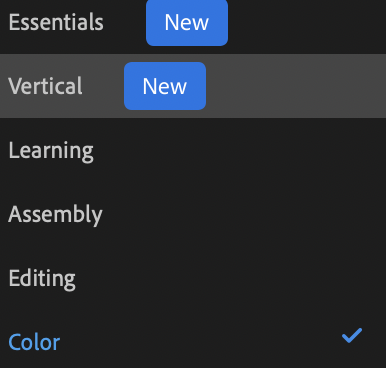
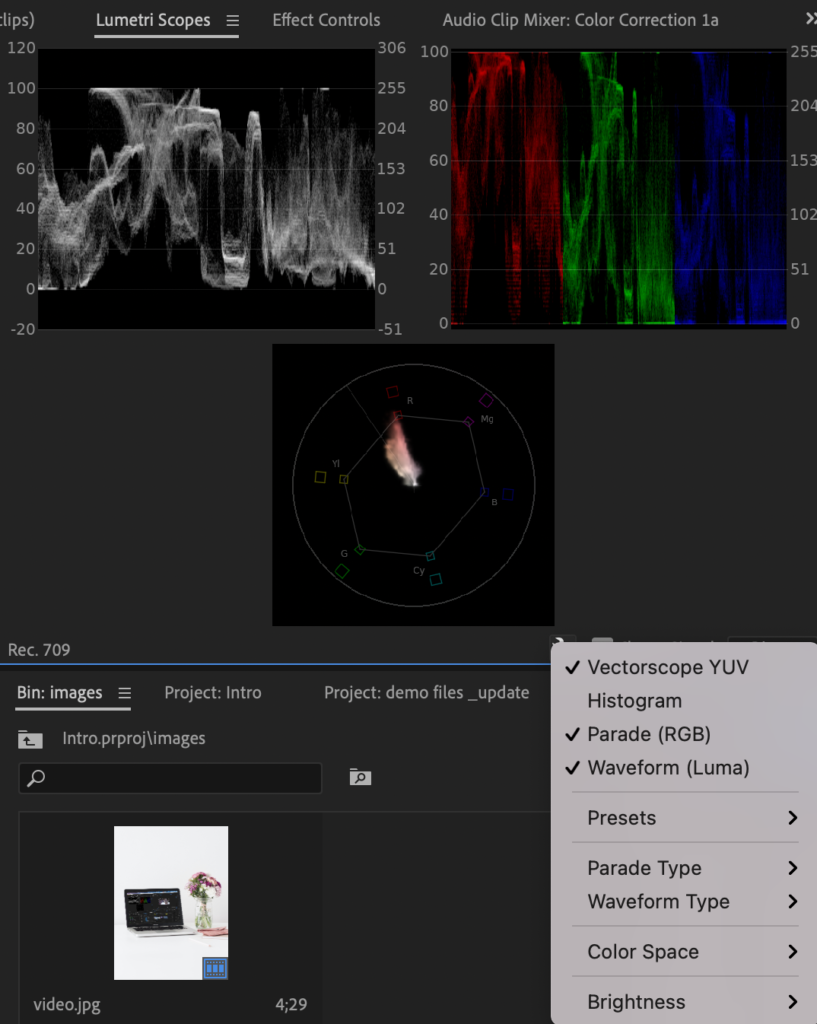
Next, set up your Lumetri scopes.
These will help you visualize what corrections are needed. Add the Vectorscope YUV, Parae RGB and Waveform Luma to your Lumetri window. Luma reads dark and whites from left to right. Flesh is at 65-75 RGB reads black at bottom and white at top (cool = too blue). Vectorscope – color wheel, flesh line top left to bottom right
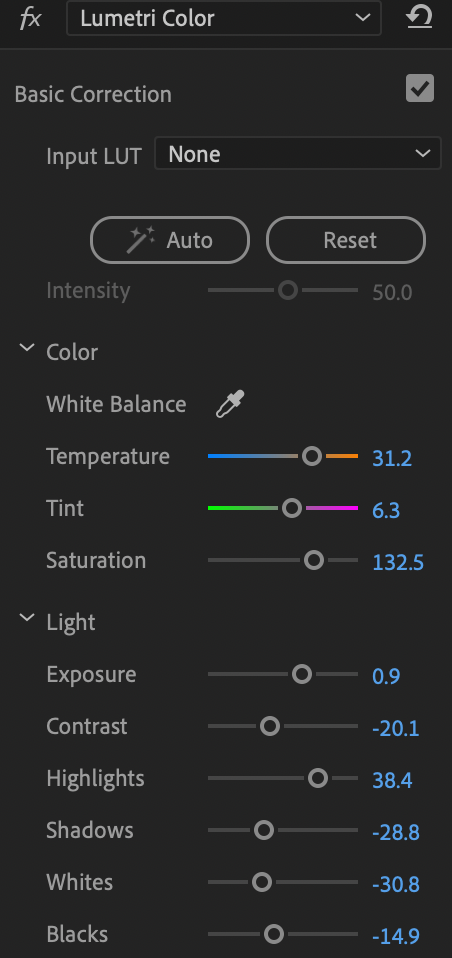
Begin with basic corrections.
You will want to always correct in this order – contrast, color balance then saturation. While editing, ask questions such as: what is white? Black? Bright? Where do I need contrast? Colors? Is there a color cast? Saturation?
Create overall look
Once you have corrected each shot individually, work on creating an overall look to develop mood, tone and aesthetic. Do this by creating a new item – adjustment layer and dragging over your clips.
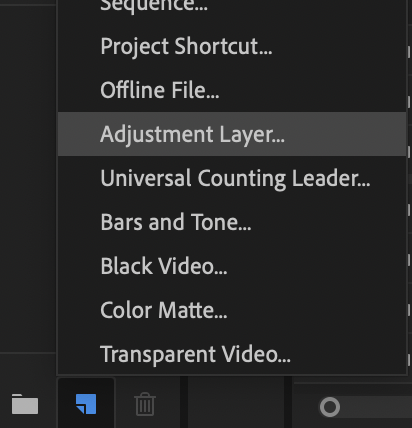
With this adjustment layer selected, select a look to apply.
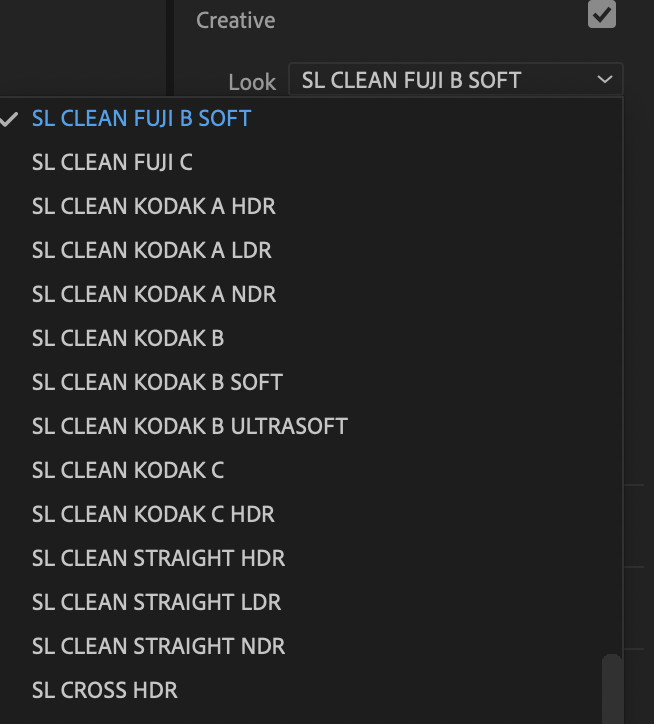
Table of Contents:
00:16 – Change to Color Workspace
00:56 – Goal of color correction
01:18 – Setting up Lumetri Scopes
01:33 – Waveform Luma
01:57 – Parade RGB
02:19 – Vectorscope YUV
02:54 – Key color correction questions
03:23 – Basic corrections
03:34 – Editing Clip 1
03:59 – Editing Contrast
04:31 – Preview changes
04:45 – Editing white and color balance
05:23 – Editing Clip 2
06:03 – Editing Clip 3
07:01 – Creating an overall look
07:15 – Open Creative tab
07:46 – Adding an adjustment layer
08:32 – Choosing a creative look
09:05 – Adjusting intensity of look
Make sure to check out our auto color video as well.
