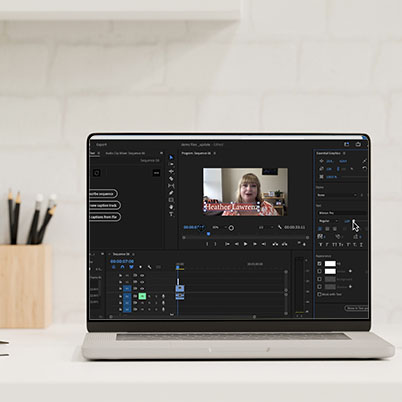
The goal of creating graphics or titles is to set the mood or inform the viewer. These graphics may include: a lower third, an opening sequence, or rolls/crawls.
This type of graphic is important especially to social where 80 percent of video watched without sound.
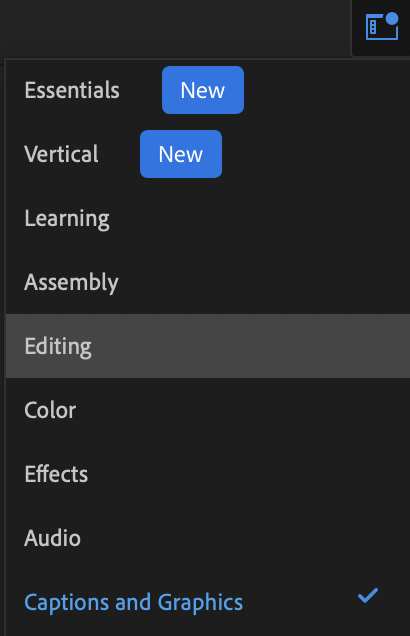
Begin creating graphics by entering the caption and graphic workspace.
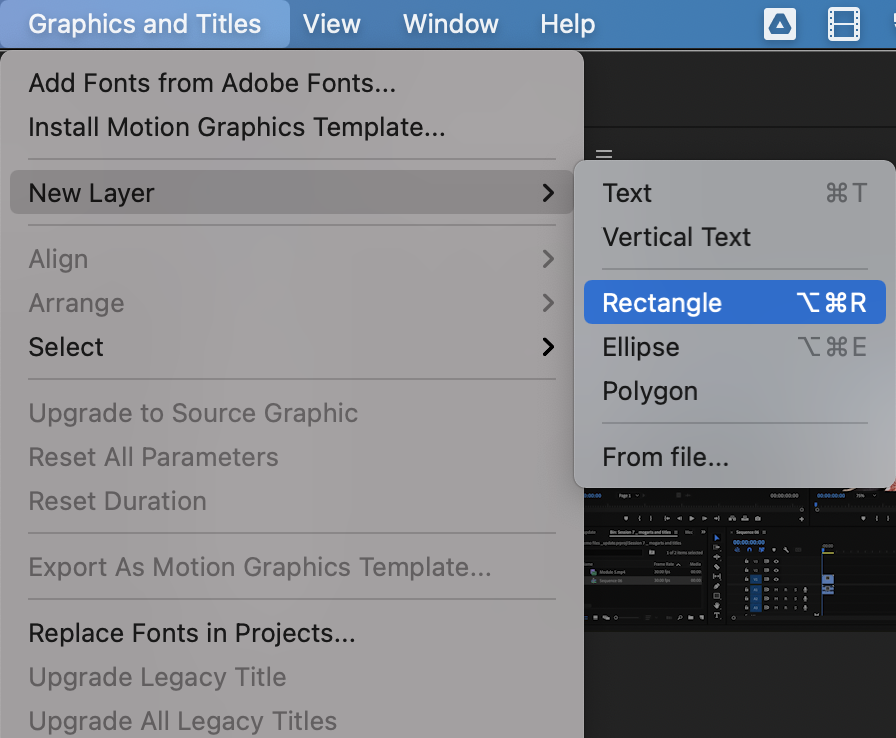
To add graphics, begin by selecting graphic from the top menu then new layer. (Make sure your sequence is selected).
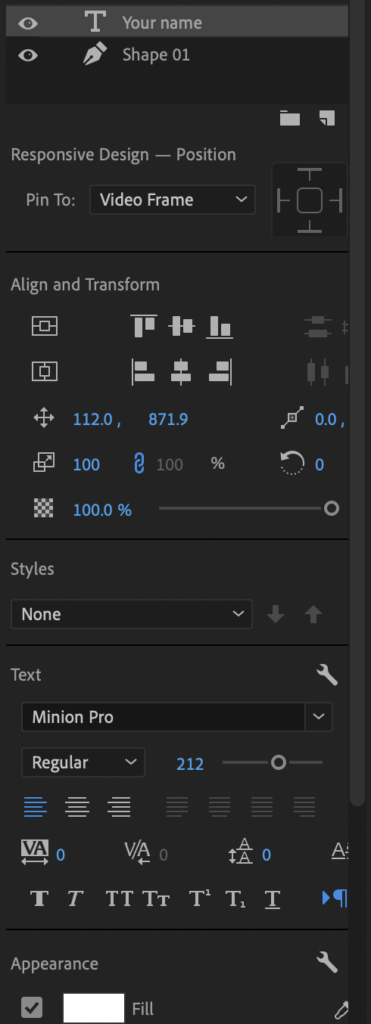
You can change the stacking order in the right graphic panel under the edit menu.
To add text, select Layer, then use CMD T (or the type tool) to add text.
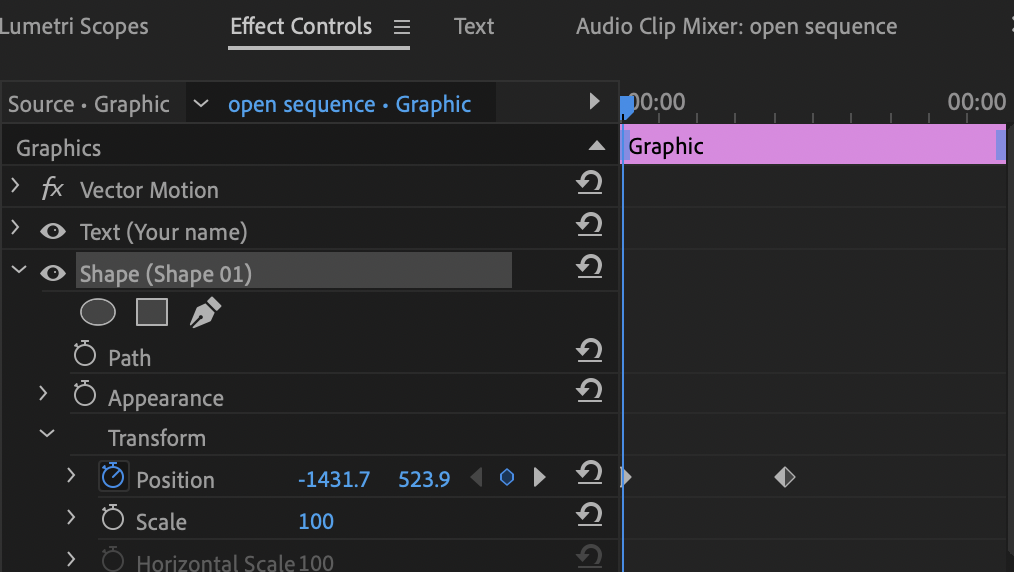
In the effect controls panel, you can add keyframes and create motion on individual layers.
Finally, to use this design again – upgrade to a source graphic and then duplicate it so it is changeable.
Table of Contents:
00:15 – Purpose of and types of graphics
01:08 – Switch to caption graphic workspace
01:31 – Add a new layer
01:55 – Edit color and size
02:35 – Adding a text layer
02:55 – Move type in place
03:13 – Editing type
04:03 – Adjusting in timeline
04:18 – Adding keyframes and effects
06:10 – Creating unique shapes
06:29 – Upgrading a graphic to use again
07:04 – Duplicating the graphic
07:36 – Changing the duplicate text
08:04 – Stock templates
08:28 – Import your own graphic templates
Check out our training on creating transcripts or captions.