If you’ve ever wanted your videos to look more cinematic, polished, or just cooler, learning how to use masks in Premiere Pro is a total game-changer.
Masks let you isolate specific areas of your video so you can apply effects exactly where you want them without changing the rest of the clip. Think of a mask like a digital stencil: it reveals only part of your video, giving you full control over what gets edited and what stays untouched.
Why Use Masks?
With masks, you can:
- Blur or hide backgrounds
- Highlight or protect a subject
- Add text or graphics behind moving objects
- Create smooth, professional transitions
- Apply cinematic color effects with precision
Even better? Masks can be animated and tracked over time, meaning they move with your subject for dynamic, high-end effects.
Getting Started: Object Masking a Moving Subject
- Import your video clip into Premiere Pro.
- Select the clip and choose the Object Mask tool from the toolbar.
- Hover over your subject, Premiere will highlight it automatically.
- Click to select the subject.
- Inspect the mask edges.
- Use the + or – tools to add or subtract areas if needed.
- In the Effect Controls panel, click the Bi-Directional Track button.
- Preview the tracking in real time using the colored overlay to make sure everything stays locked in.
This is perfect for isolating people, pets, or objects that move through the frame.
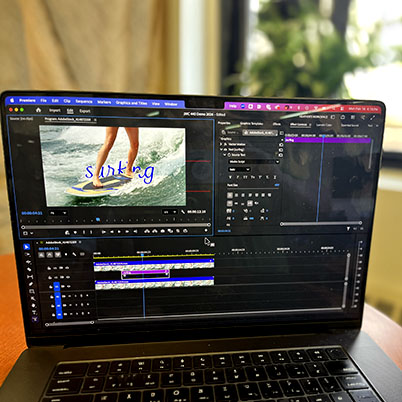
Creative Trick: Place Text or Graphics Behind a Subject
Once you’ve masked a subject, you can layer text, shapes, or graphics behind them—great for titles, name tags, or social media videos that feel more immersive and professional.
Cinematic Color Effects with Masks
Want to enhance your video lighting without affecting your subject? Masks make that easy.
Example: Boost the Sky Without Changing the Subject
- Create a rectangle or custom shape mask over the area you want to adjust (like the sky).
- Increase the feathering to soften the edges for a natural look.
- Apply Lumetri Color and tweak settings like saturation or temperature.
- If your subject overlaps the mask:
- Create an Object Mask on the subject
- Track it through the clip
- Set the Object Mask blend mode to Subtract
Result: The color grade affects only the sky, while your subject stays perfectly natural.
Why This Skill Matters
Masking is one of those techniques that instantly makes your work stand out, whether you’re creating videos for class projects, social media, or your portfolio. Once you start using masks, you’ll see endless creative possibilities open up.
Give it a try and start editing like a pro.
00:12 Using masks
00:50 Locate different mask tools
01:25 Using mask and lumetri color to target areas
02:41 Use object mask to create text effect